

 Best Soil Test Kits
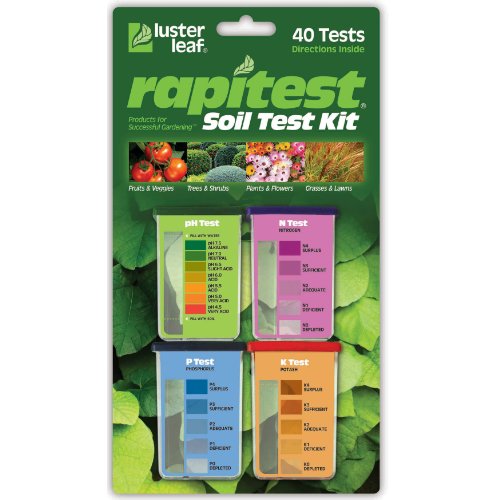
- Best Complete Testing Kit: Luster Leaf 1601 Rapitest Test Kit
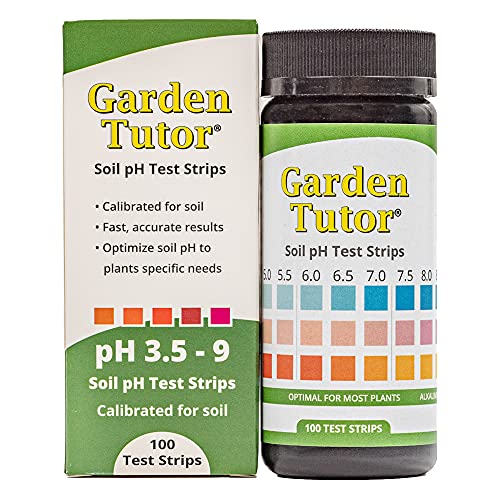
- Best Soil pH/Acidity Test: Garden Tutor Soil pH Test Kit
- Best Moisture, Light, & pH Meter: Sonkir Soil pH Meter 3-in-1
- Best Budget pH Test: Garland Soil pH Tester