Dealing with a weedy garden can feel like a battle you can’t win, but actually, turning a patch of weeds into a neat, green lawn is possible with the right approach.
By following the steps outlined in this guide, you’ll end up with a garden to be proud of. Whether you’re dealing with perennial weeds, unwanted grass species, or moss, here’s how to take control of a weedy lawn and start fresh with grass.
Table of Contents
Step 1: Assess the Garden’s Condition 🧐
Before you start, take a good look at the garden.
Identify the types of weeds and how far they’ve spread. Some weeds are shallow-rooted and easy to remove, while others have deep roots that are harder to get rid of. Knowing what you’re up against will help you choose the right tools to clear the area effectively.
Step 2: Clear the Weeds 🍀
To clear the weeds, start with manual removal. Use a garden fork or hoe to loosen the soil and remove weeds by the roots. This prevents them from regrowing and gives you a blank canvas to work with. Make sure you don’t leave any weed seeds behind.
Note: For more invasive species, you might need to use a weed killer. There are lots of glyphosate-based options available that target the weeds without harming the surrounding soil. Apply these carefully following the product instructions and wait for them to work before moving on to the next step.

Step 3: Prepare the Soil 💪
Healthy grass needs good soil to grow. Once the weeds are cleared, rake the ground to remove any debris, stones, roots, and leftover plant material. Use a fork or coring aerator (<Amazon link) to aerate the soil, which will help improve its structure so the grass seeds can establish roots. Read our guide on soil aeration here.
At this stage, we also recommend adding a layer of top soil or fresh compost to improve the soil’s fertility and give your new grass seed the best chance to grow.
If you want to go all out, you can even test the pH of your soil using a pH meter (<purchase link) to make sure it’s in the ideal range for grass which is between 6.0 and 7.5. You can adjust pH by adding lime to increase the alkalinity or sulphur to decrease the acidity, depending on the results.
Step 4: Level the Ground 📏
If your lawn is uneven, you’re more likely to experience issues with poor drainage and patchy grass. The good news is that this is an easy fix.
After preparing the soil, use a rake (<links to Amazon) to level the surface with the existing grass. For larger dips or mounds, fill or remove soil as needed to get a smooth finish. Take your time with this step as it will pay off in the long run.
Once the soil is level, compact it lightly by walking over it or using a roller (Amazon). This will prevent settling when you water the area or when the grass starts to grow. Just don’t overdo it, as seeds will struggle to root in very compacted ground.
Step 5: Sow Grass Seed or Lay Turf 🌱
Now for the fun part: establishing your new lawn.
You can either sow grass seed or lay turf depending on your budget and preference. Grass seed is cheaper but takes longer to establish, while turf is instant lawn but more expensive.
When you’re sowing seed, choose a variety that suits your needs. Spread the seed evenly with a seed spreader, then lightly rake the surface to get good soil contact. Water the soil thoroughly, but don’t create puddles. Read our guide on how to seed a lawn for a more detailed breakdown.
For turf, lay each strip in a staggered pattern like bricks, with no gaps between the rolls. Press down the edges and water immediately after laying.

Step 6: Water and Maintain 💦
Once the grass is down or you’ve seeded the area, you’ll need to keep up with a proper care routine to get it to establish. Water the area daily in the first few days, every morning or evening to prevent the water from evaporating before it soaks in. You want to keep the area damp, but not waterlogged.
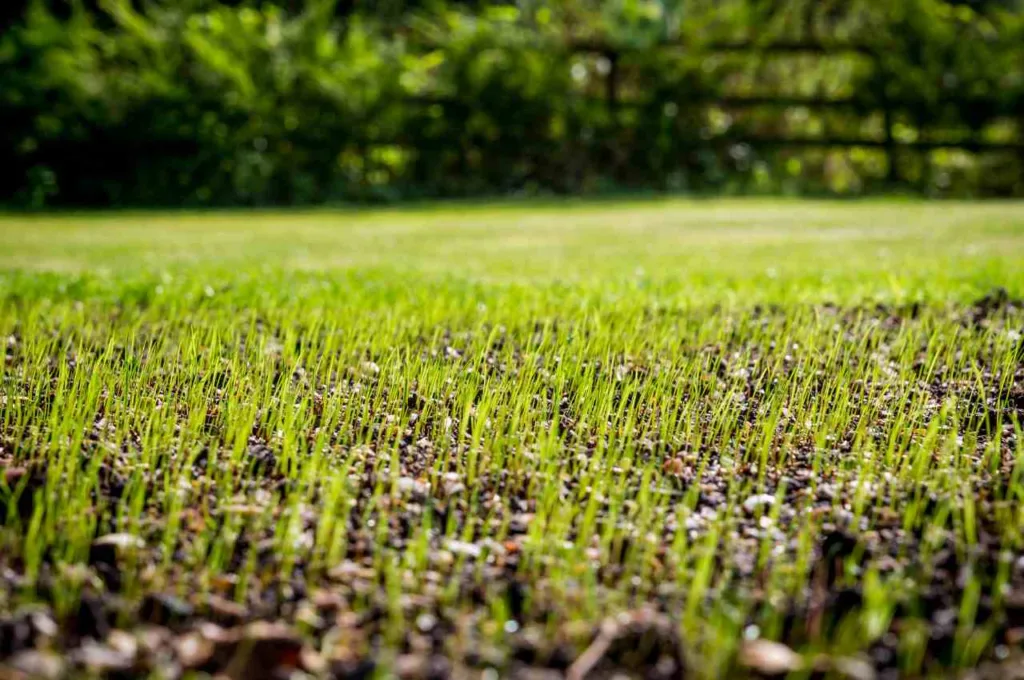
If you’ve used seed, it should germinate within 7 to 14 days, depending on the weather and variety. If you’ve used turf, roots will start to establish within the first 2 weeks. Don’t walk on the new lawn until it’s well rooted to prevent damage.
Step 7: Control Weeds as Grass Grows ☘️
Even after you’ve removed the initial weeds, new ones will appear as the grass establishes itself. And when you’ve put in so much effort to establish your new lawn, that’s the last thing you want.
To prevent the weed problem from getting out of hand again, regularly inspect your lawn and remove any weeds as they appear, either by pulling them out or with a selective weed killer that targets weeds without harming the grass. Stay on top of this, and your new lawn will remain weed-free and healthy.
Step 8: Start Mowing Carefully ✂️
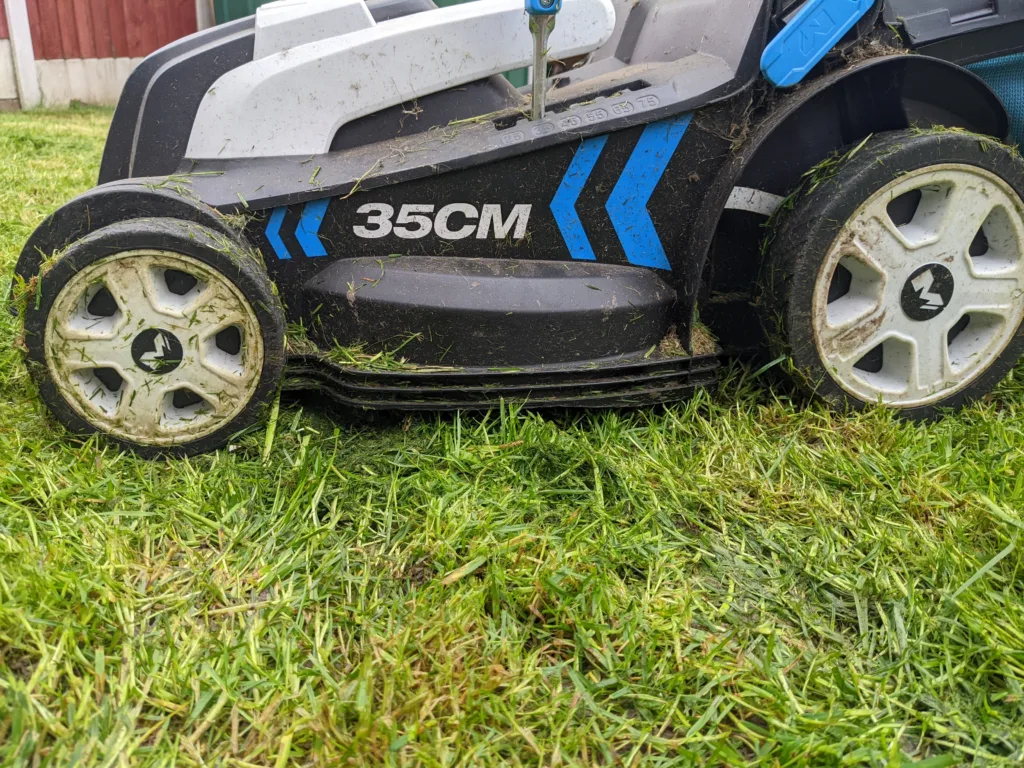
Once your grass is about 7 to 8cm high, it’s time for the first mow. Use a lawn mower with sharp blades and set it to a high cutting height so you don’t stress the young grass. Mowing your lawn too short is never a good idea.
Lower the cutting height over the next few mows as the lawn gets stronger.

Step 9: Feed the Lawn 🧪
Feeding your lawn isn’t essential, but it’s an easy and effective way to make it thicker and greener. Use a high-quality fertiliser designed for grass, and make sure to follow the product instructions closely.
It’s best to go with a balanced feed, with nitrogen for growth, phosphorus for root development, and potassium for overall health. Feeding is especially beneficial in the first year to get a strong and resilient lawn.
Step 10: Enjoy and Maintain 😎
Once your grass is established, maintenance will keep it looking good.
Mowing, feeding, and watering are key to a healthy lawn. You should also aerate the soil every year to prevent compaction and strong roots.
With regular care, you’ll be able to enjoy a green, neat garden all year round. Turning a weedy garden into grass takes work, but the results are worth it! Follow these steps and you’ll have a lawn that’s not only beautiful but functional and low-maintenance.
