
If you’ve just bought a robotic lawn mower, chances are, it’s your first. Robot mowers have only entered the scene in recent years, so you’re not alone if you’re not sure how to get started with your mower once it arrives.
In this guide, we’ve shared the step-by-step process of installing a robotic lawn mower. We’ve covered everything you need to know about this process, including any pre-installation steps, installing the charging station, laying the boundary wire and guide wire, and more.
Note: This article provides generic information that applies to the installation of most robotic lawn mowers. However, be sure to check your user manual for specific instructions for your mower type.
✅Key Takeaways:
To install and programme a robotic lawn mower, follow these steps:
Carry out any necessary pre-installation tasks
Choose a location for the mower’s charging station
Install the charging station
Prepare to lay the boundary wire
Lay the boundary wire
Lay the guide wire
Programme the mower’s factory settings (if necessary)
Table of Contents
📑 Robot Mower Setup & Installation: Step By Step
Buckle up, because in this next section, we’ve shared the step-by-step process of setting up a robotic lawn mower – and there’s a lot to it!
🧰 Step 1: Pre-Installation Tasks
So, you’ve received your robot mower and you’re excited to unbox it. But not so fast – there are a few pre-installation tasks to complete first.
Start by doing a quick sketch of your garden, including any obstacles (like trees, garden furniture, etc) that you will need to account for when setting up your mower. This will make it easier for you to lay the guide wire and perimeter wire when you get to these jobs.
Next, gather your tools. Generally, the tools you’ll need for robotic lawn mower setup are:
A hammer or rubber mallet
Pliers/gripping tools
Diagonal pliers/ side cutters
Our top recommendation for a hammer is a soft-head hammer, which won’t damage the cables while hammering.
🗺 Step 2: Choose A Charging Station Location
Next, unbox your mower’s charging station and check that all the materials and components are included.
You can now decide on a location for the charging station. Here are a few must-haves for your mower’s charging station location:
A flat surface
Plenty of open space around the install area (don’t choose a corner)
Around 5-10 metres away from a power outlet
In the shade
Somewhere on your lawn (not elsewhere in your garden)
Essentially, the most important thing is to install your charging station as centrally on your lawn as possible, and the boundary wire should be able to take right-angle paths to the left and right of the station.
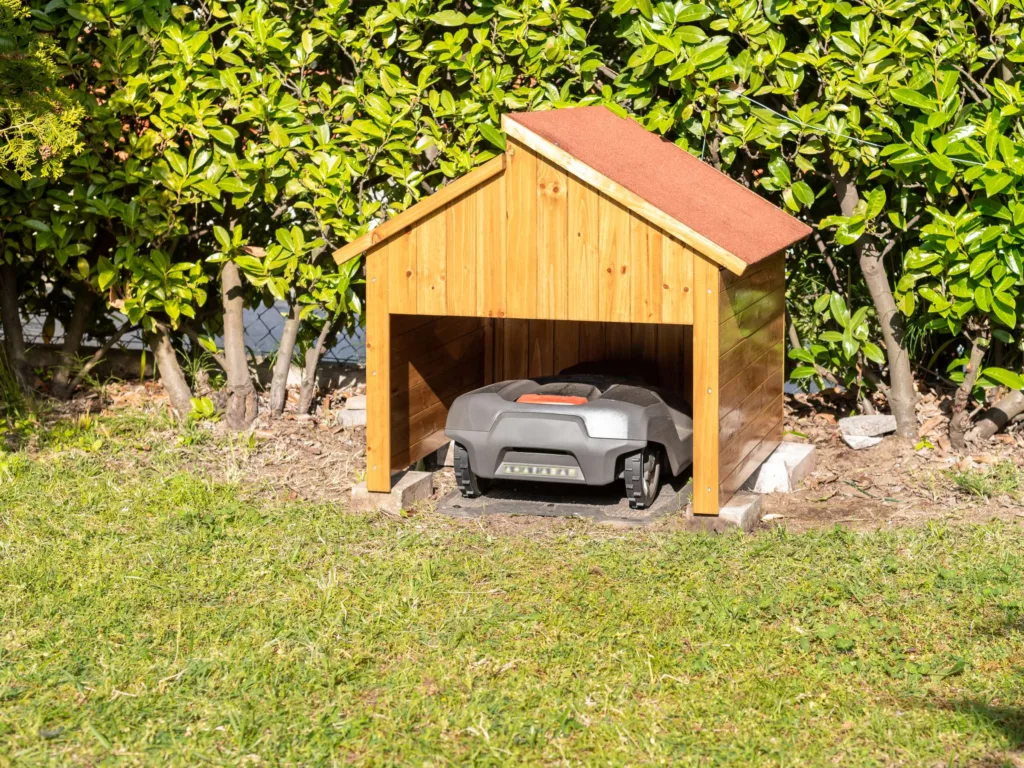
If your central location isn’t in shade, consider buying a robot lawn mower garage. Most manufacturers sell garages for their robot mower models, usually costing around £100-£300.
🔌 Step 3: Install The Charging Station
Follow the steps in your user manual to install your robotic mower’s charging station.
This installation process is usually fairly easy, and typically involves the following steps:
Connect the base plate to the charging unit
Connect the low voltage cable to the power supply, then connect the power supply to the charging station
Connect the power outlet to the power supply
Stop here for now. You’ll likely find some screws for fixing the charging station, but these shouldn’t be used yet. You’ll finish the installation once you’ve laid the guide wire and boundary wire, which will prevent these next jobs from being unnecessarily difficult.
The video below is a good visual example of how to correctly place a charging station on your lawn:
🟢 Step 4: Prepare To Lay The Boundary Wire
The next step is to prepare your lawn for laying the boundary wire.
You’ll find it easier to lay the boundary wire correctly if you know what it is and what it’s for, so here’s our overview.
A boundary wire, as the name suggests, establishes a boundary around the outside of your lawn and around obstacles, so your mower knows where it should mow, and which areas it should avoid. The wire has a weak current flowing through it, which produces an electromagnetic field. The mower’s sensors will sense when the mower is close to the boundary wire, preventing it from driving over the wire.
Tip: Don’t confuse the boundary wire with the guide wire! Most robotic lawn mowers also come with a guide wire, which has a different purpose: to direct the mower back to the charging station when it’s reached the end of a mowing session. We’ve discussed laying the guide wire later in this guide.
When preparing to lay the boundary wire, decide whether you’d rather place it on the surface of your lawn or below the ground. Burying the wire below ground means it won’t affect your lawn’s appearance, so it’s worth putting in this bit of extra effort if you’re garden-proud.
If you want to lay the wire below ground, you’ll need to dig a shallow trench along where you plan to lay the cable. It’s best to lay the wire above ground first, then watch the mower for a few weeks and check that it’s mowing within the correct areas, before you bury the wire. This will save you the hassle of making changes if the wire’s position needs to be adjusted.
Boundary Wire Placement: Our Top Tips
Here are our top tips for laying your robotic mower’s boundary wire:
Make sure there are no intersections between two sections of wire.
Choose the right distance between the boundary wire and the edge. This varies depending on the obstacle you’re placing the wire around. Generally, you need to lay the wire around 10 centimetres away from paths, patios, and lawn-level boundaries; around 30 centimetres from hedges and raised borders; around 20 centimetres from flower beds; and around 35 centimetres from walls and large pots.
Keep the boundary wire at least 40 centimetres away from power cables, which generate electric fields that could interfere with your mower’s performance.
🛠 Step 5: Lay The Boundary Wire
You can now get on with laying the boundary wire. We recommend mowing your lawn first, which will allow you to see the boundary wire around your lawn without long grass blocking your view.
Assemble your tools and materials. For this job, you will need:
The boundary wire. Make sure you have enough wire for the job. If not, you’ll need to extend it with extra wire. Make sure to buy a universal cable like this one.
Securing pegs/hooks/ground spikes. Different manufacturers give these different names, but they do the same thing: anchor the boundary wire into the ground.
Cable connectors/connecting clamps. These should come in your mower box and allow you to connect the guide wire to the boundary wire. They can also be used to extend your cables if necessary.
Tape measure/ruler. This should also come included with your robotic mower, so you don’t have to guess distances when placing the boundary wire around obstacles and paths.
As we advised earlier, it’s best to lay the boundary wire above ground first, so you can easily make adjustments after a few weeks of observing your mower if necessary.
Begin by laying the wire next to the docking station. Don’t connect it just yet – just leave it around half a metre out. Anchor the wire to the ground next to the station with a hook.
Then, continue to lay the cable around the border of your lawn, anchoring it with another hook every 50 centimetres or so. Prioritize flat ground where possible, and use the ruler to ensure the cable is the correct distance from edges and objects. If you need to lay the cable around curved edges or corners, decrease the distance to around every 20-30 centimetres.
If the cable is ever lifted off the ground due to unevenness, you’ll need to use an extra hook to fasten it down. It’s essential that all sections of the cable are flat on the ground to prevent the blades of the robot mower from cutting the cable as it gets near.
You may need to lay the boundary wire around obstacles inside your lawn. This is easy to do: just lay the wire from the edge of the lawn to the obstacle, then lead it around the obstacle once before leading the cable back to the same part of the lawn edge without overlapping the cables. Use a hook to anchor both cables to the ground.
Here’s a helpful video produced by Flymo that shows you how to install the boundary wire for a robotic lawn mower:
🦯 Step 6: Lay The Guide Wire
Your next job is to lay the guide wire for your mower.
The guide wire should be laid down the middle of your lawn in a direct path towards the mower’s charging station.
Don’t worry if your mower doesn’t come with a wire – not all robot mowers need a guide wire, so you can skip this step if it doesn’t apply to you.
If your mower does have a guide wire, lay it along the middle of your lawn, beginning at the charging station, so the wire extends in a straight line from the station for at least 1 metre. The wire will help the mower find its way back to the charging port if it’s mowing further away down your lawn. Also lay the wire in any narrow passages, bottlenecks, or other areas that are difficult to reach.
The video below quickly shows you how to lay your robot mower’s guide wire:
📡 Step 7: Customize The Mower Settings
Now the guide wire and boundary wires are laid, it’s time to programme your mower’s settings.
To make the programming process easier for you, most robot lawn mowers are pre-programmed at the factory. With that said, you’ll probably need to adjust the factory settings to tailor the mower’s performance to your needs.
The exact programming process depends on the type and brand of robotic lawn mower you own. Some mowers have a basic interface that you can use to adjust settings on the mower body itself. Others are WiFi connected and make it easier for you to programme the settings on your app.
Some of the settings you’ll likely need to customize, or at least check to make sure they’re suitable for your situation, are:
Basic system settings, like language and time
Mower cutting height
Mower cutting schedule
Edge mowing
Start points (if mowing multiple areas)
You may also need to create an account and set up a PIN, so that only you can programme the mower going forward.
Since different robotic mowers have different programming setups, we recommend checking the instructions in your user manual for this part of the installation process.
🧐 Step 8: Post-Installation Tasks
You’ve now reached the end of the robotic lawnmower installation process. To recap, you should have done the following:
Installed the charging station and power cable
Laid the boundary/perimeter wire
Laid the guide wire
Programmed the mower’s settings
You can now connect the boundary wire and guide wire to the charging station and charge your mower, ready for its first use.
Over the next few hours to the next few weeks, you’ll need to tie up a few loose ends from the initial installation and setup process.
Allow at least a week for your robot lawn mower to mow your lawn based on its schedule. Based on the mowing results, you can adjust the boundary cables to ensure your entire garden is covered.
After adjusting the perimeter wire (or not adjusting it if no adjustments were necessary), you can decide whether or not to install the wire underground.
To install the perimeter wire underground, dig a shallow trench around your lawn and any obstacles. The trench should be no deeper than 20 centimetres – installing the wire too deep may mean that the mower is unable to sense the wire and change direction.
🏁 Final Word
There are quite a few tasks involved in setting up a robot lawn mower, but once you know what you’re doing, the process isn’t particularly complicated.
Some robotic mower brands provide an installation service at an extra cost, but we don’t recommend this unless as a last resort. Even if you’re not physically capable of the steps outlined in this guide, see if a friend or family member would be willing to help before you consider hiring an expert.
If there are any parts of the process you’re confused about, consult your user manual or contact the manufacturer with your questions. They may be able to guide you through the process over the phone or point you to a helpful video for further guidance.
FAQ
How easy is it to set up a robot lawn mower?
Setting up a robotic lawn mower is easy but time-consuming. You don’t need to be particularly skilled or technologically inclined for the job, but you’ll need to be able to follow instructions carefully, and you’ll need to be physically capable of the hands-on tasks including pegging the boundary wire into your lawn (or burying it if you prefer) and installing the charging station.
How long does it take to install a robotic lawn mower?
The average time it takes to install a robotic lawn mower from start to finish is 2-6 hours. This depends on factors including whether or not you choose to bury your perimeter wires, how many obstacles the mower needs to avoid, the size of your lawn, and the complexity of the mower’s interface. It shouldn’t take you longer than a day to get your mower set up and ready to use.
How do you programme an automatic lawn mower?
You can programme an automatic lawn mower by adjusting the settings on the mower body or downloading an app (as outlined in the manufacturer instructions) and programming the mower using your phone.
Do all robot mowers need wires?
No, not all robot mowers need boundary wires. Some modern robot lawn mowers use cutting-edge technology, like LiDAR, to map a route of your lawn without the need for boundary wires to contain the mower within the space. These mowers are more expensive due to their easier setup process.
Do robot mowers need WiFi?
No, not all robotic mowers need WiFi. Some robot lawn mower brands sell more basic models that have a programming interface on the mower body itself, so you don’t need to connect the mower to a WiFi app and programme it via your smart device. These mowers tend to be more affordable, although their programming options are more limited.