If you’ve recently taken a good look at your lawn and thought, “This needs MAJOR work”, this is the article for you.
We get a lot of emails from people who are now deciding to take their lawn care seriously after years of turning a blind eye, or those who have moved to a home with a lawn that needs some TLC. The questions differ, but everyone is essentially asking the same thing:
“How can I transform my lawn from its current state (most likely messy ((and maybe mossy)), weed-strewn, patchy, uneven turf) to the lush green lawns that I see on TV/at my local fancy hotel resort/in my neighbour’s garden?”
I’ve aimed to answer this question as comprehensively as possible in this guide, talking you through the 8 steps that I have personally taken to renovate many lawns in the past.
Table of Contents
📑 Step 1: Assess the Situation & Make Your Plan
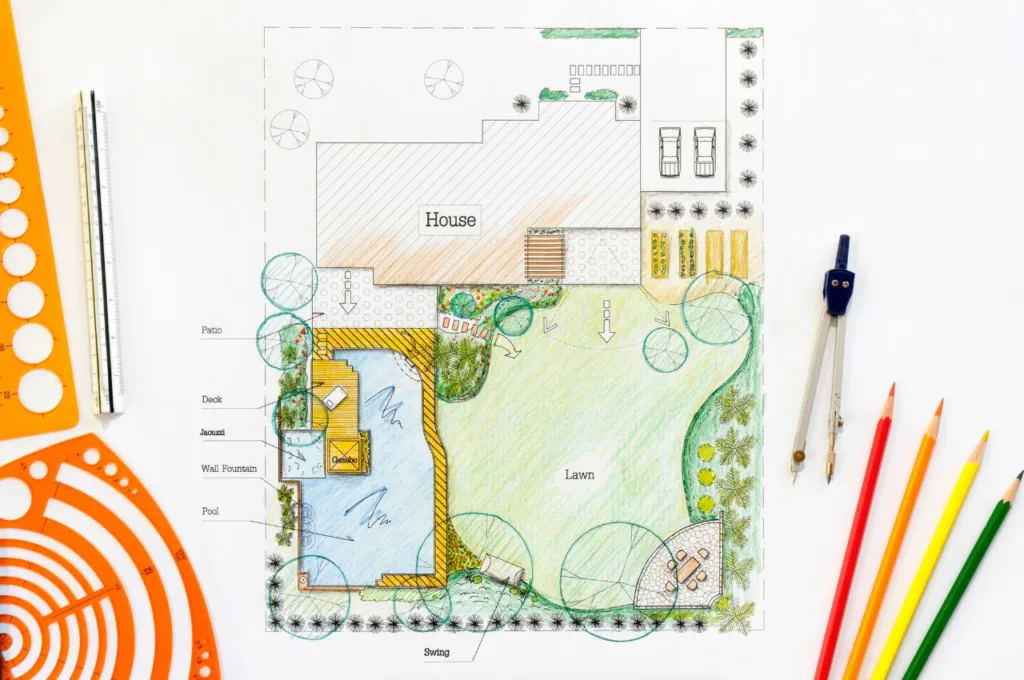
Your first step is to figure out what problems you might be facing, or what you want to change.
This involves assessing the current state of your lawn. Look for areas of patchiness, weeds, compacted soil, and any other issues.
It’s also a good idea to determine the grass type in your lawn. Different grass types have different maintenance requirements, so this will come in handy later on. Search online for photos of grass and see if you can compare it to what you have in your garden. If you live in the UK, your lawn is probably a mixture of ryegrass, fescues, and meadow grasses.
We’ve shared the different types of grass you’re likely to come across in a UK lawn here.
Finally, consider factors that could affect your lawn growth and health, like sunlight exposure, soil type (clay, sand, loam, etc.), and climate. This will help you choose the right grass seed and maintenance practices.
💨 Step 2: Aerate the Soil
Next, if you identified compacted soil, it makes sense to aerate the ground now before you begin work on the turf itself.
Aeration helps to loosen compacted soil, which allows for better air circulation and water penetration. You might think that aerating your soil is a waste of effort, but trust me, it’s worth it.
Compacted soil can prevent essential nutrients from getting to your grass roots. It also restricts grass root growth because roots have a hard time getting through the compacted soil, which can affect the growth of the leaf itself. Aerating breaks up the soil, so the roots can develop healthily and your lawn can grow more freely and vigorously.
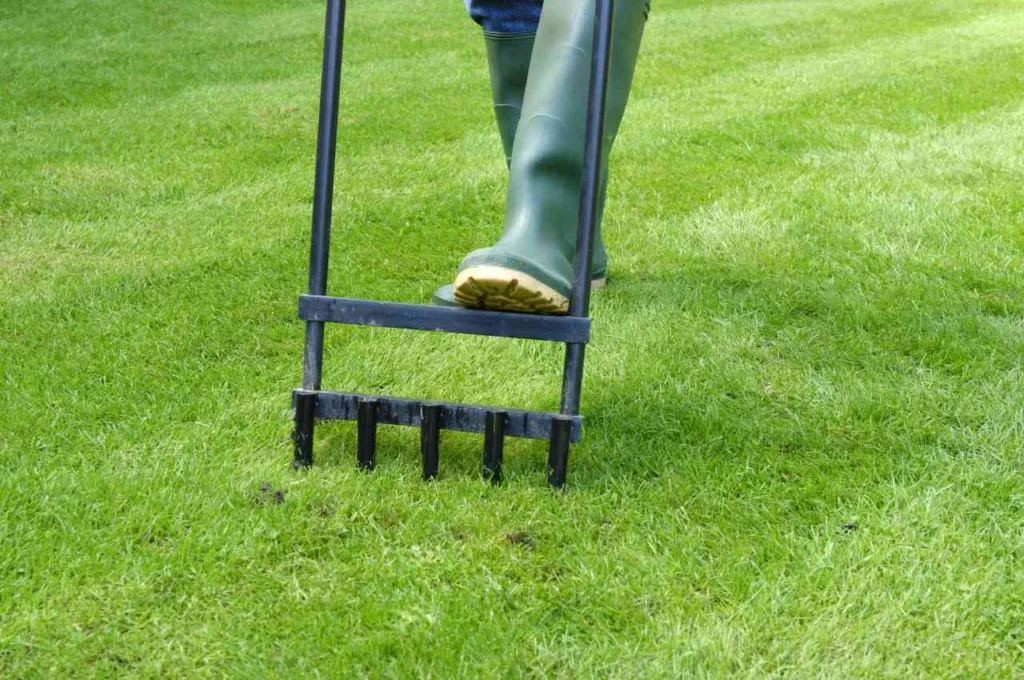
It’s up to you whether you use a fork or a core aerator to aerate your lawn.
You might use a fork if your lawn is small or you only have specific areas that need aeration.
Otherwise, I recommend investing in a core aerator, which removes small cores of soil from the ground. This is the more effective solution for bad compaction issues and poor drainage because it doesn’t just make holes in the ground – it actually removes some of the soil.
I own the Walensee Lawn Coring Aerator, which works great, but any sturdy core aerator should do the job.
🍀 Step 3: Tackle the Weeds
If your lawn has weeds or moss, your next job is to address these.
You have a few different options here:
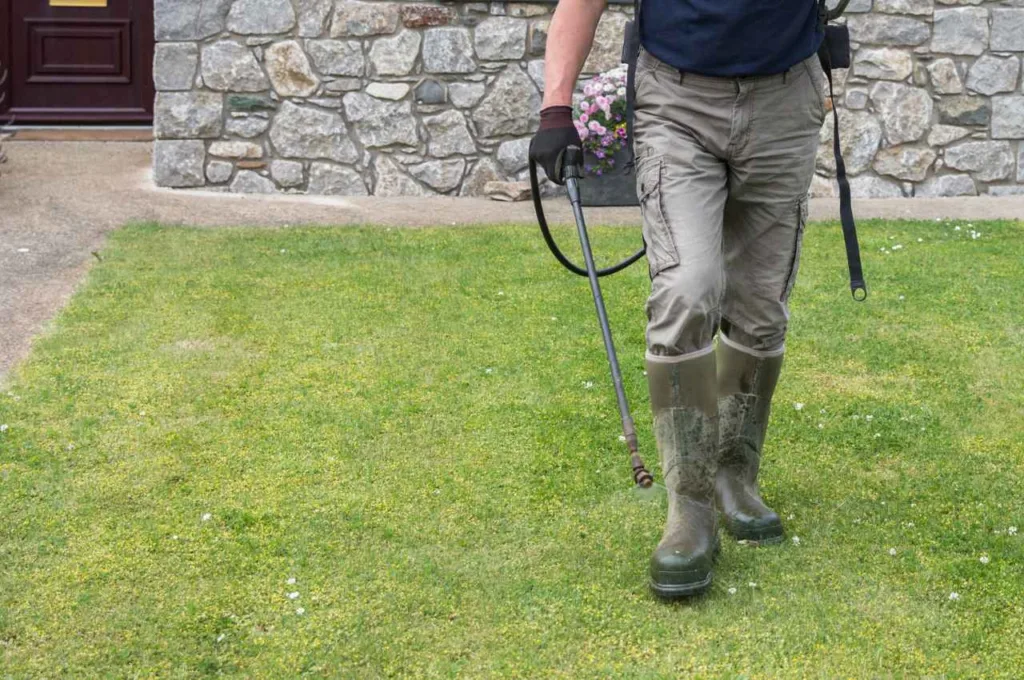
First, you could apply a selective herbicide, which will target the weeds while minimizing harm to the grass. Important: Make sure to use a SELECTIVE HERBICIDE and not a non-selective herbicide. You don’t want to kill your lawn too! I have used a few in my time but am currently using this Weedol weedkiller.
Alternatively, you could manually remove weeds by hand or using a weeding tool. (Make sure to pull out the roots too, or the weeds will just grow back.) This is an option if your lawn isn’t overridden with weeds. Otherwise, it’ll probably take too long.
The last option is to wait until you fertilise your lawn and use a combined lawn feed/weedkiller. There are a few good ones out there, which I’ll share later when I discuss fertiliser in more detail.
Once you’ve executed your plan to get rid of your lawn’s weeds, move on to the next step.
🌱 Step 4: Overseed Bare Patches
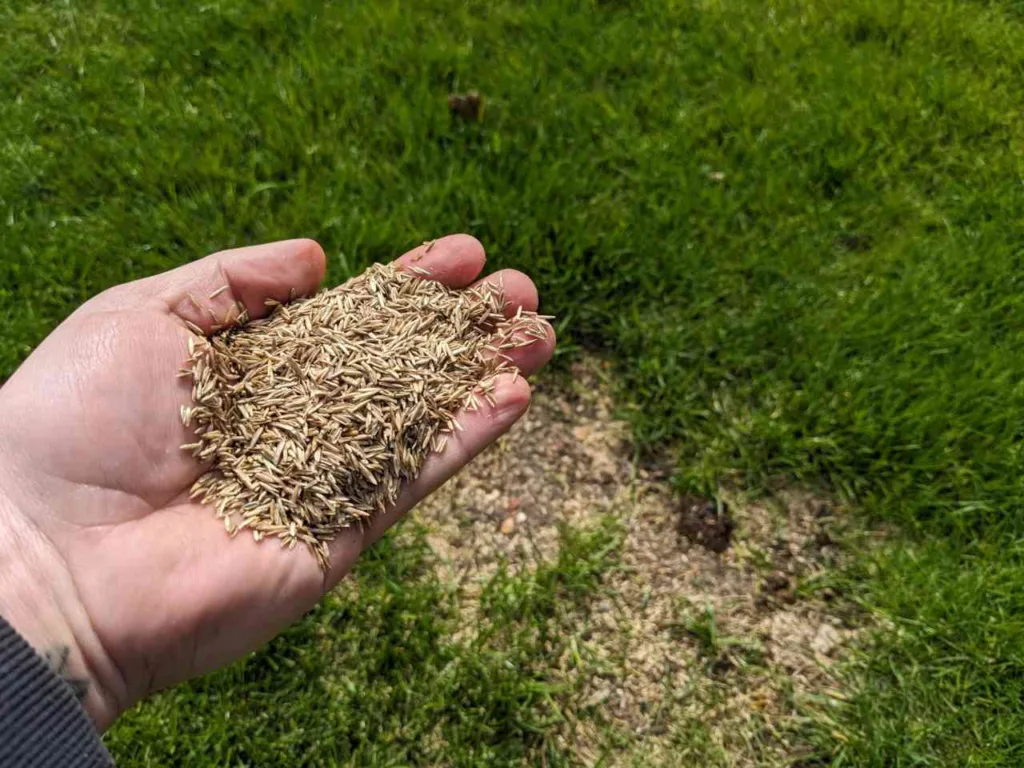
Most lawns that have been neglected for a while have a few bald spots and bare patches that can be filed in with overseeding.
Overseeding is essentially when you spread grass seed over your existing lawn to thicken the turf and cover bare patches.
Before you sow any seed, mow your lawn short. This will ensure as many seeds as possible make contact with the soil, increasing their germination rate.
You want to get the best value for money from your grass seed, so go for a high-quality seed blend that’s suitable for your climate and soil conditions. I’ve had a great experience with dozens of different grass seed brands, but the Pronto Seed Grass Seed is generally what I recommend for overseeding because it grows rapidly and doesn’t need a lot of care.
Here are a few helpful guides for further reading:
🎊 Step 5: Fertilise Your Lawn
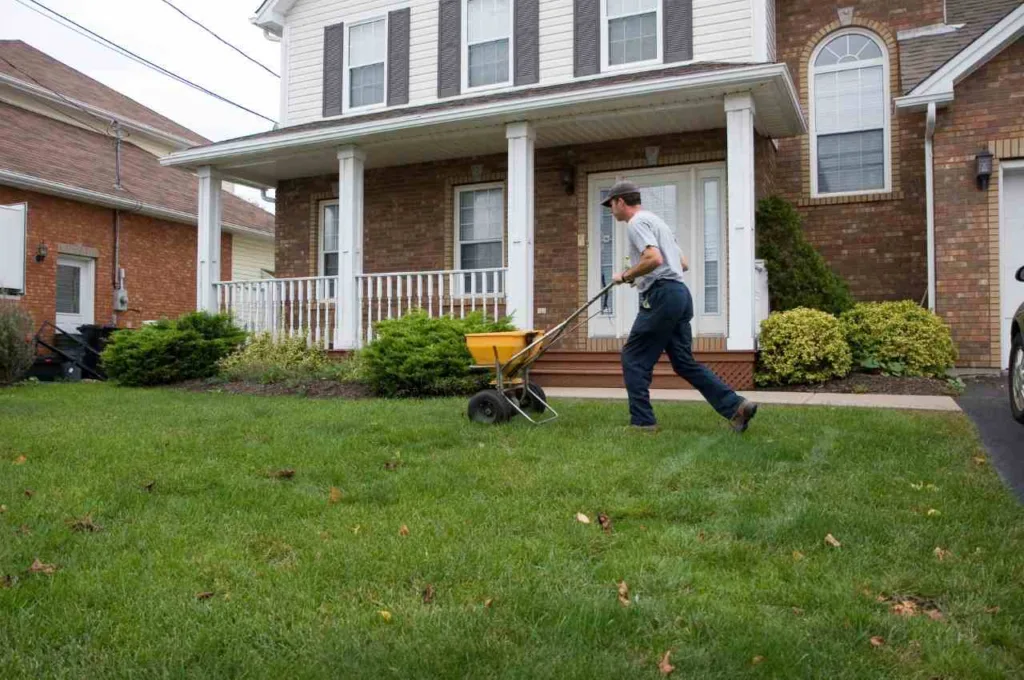
Whether or not you’ve overseeded your lawn, I always recommend fertilisation in any lawncare routine.
Fertilisers provide essential nutrients for grass growth. If your lawn is looking a bit tired, is growing sparsely, or could do with greening up, a good lawn feed is the answer.
I’ve shared my current top favourite fertilisers in this guide, but if you just want a quick recommendation, I think the Miracle-Gro Water Soluble Lawn Food is a good all-rounder.
It’s up to you how often you decide to fertilise your lawn after your first application. Some people apply a lawn feed every spring, after the last frost, to bring their lawn back to life after a cold winter. Others fertilise every few months. Just make sure to follow the instructions on the packet and don’t over-apply the feed, which could damage your lawn.
🚿 Step 6: Establish A Watering Routine
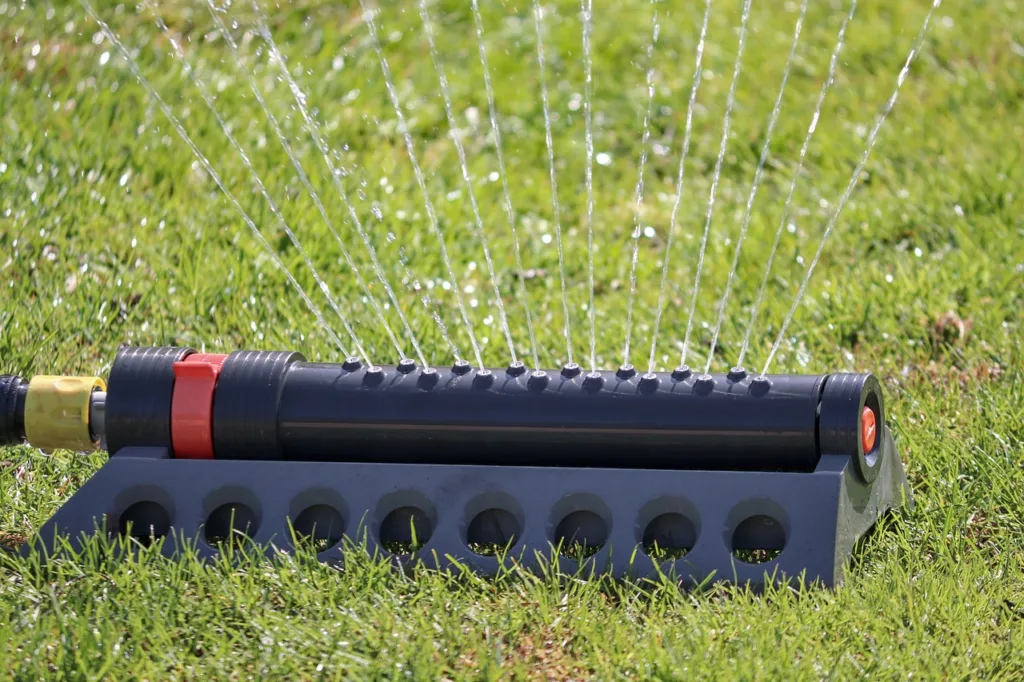
In the UK, we generally don’t need to water our lawns because we get plenty of rainfall as it is.
But if you’ve sown grass seed, you’ll need to follow the watering instructions to give the seed the best chance of germination.
I recommend watering your lawn once twice per day for around 3-4 weeks after sowing the seed. But this depends on the weather – on rainy days, you don’t need to water at all.
You should also give your lawn a water on hot summer days to prevent the grass from drying out and keep it looking fresh and green.
✂️ Step 7: Mow Your Lawn Correctly
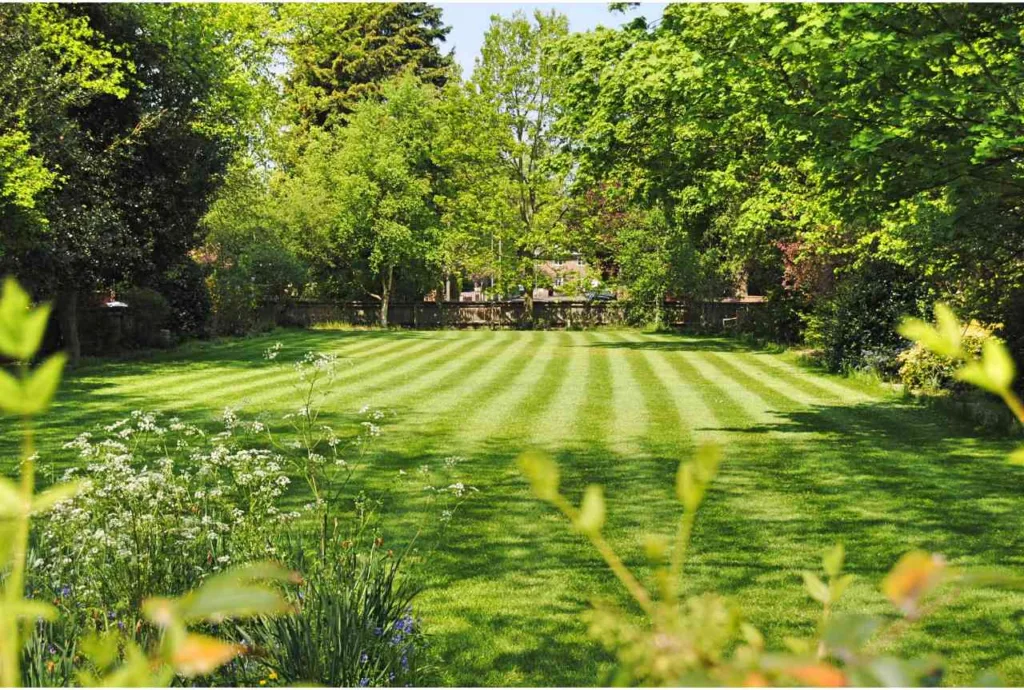
Yes, there is a correct way to mow your lawn, and incorrect mowing could actually affect grass health, reversing the outcome of your hard work so far.
It’s best to wait until your grass is at least 10cm tall before you consider mowing it – you can even leave it to grow up to 20-30cm long, depending on the types of grass you have and your personal preferences.
Mowing your lawn too short stresses the grass, which means you’ll need to work harder to keep it growing healthily.
You also don’t want to cut off too much grass with a single mow. Follow the one-third rule, where you never take off more than one-third of the grass height. Again, this prevents stress to the grass (which can cause the ends to turn yellow).

♻️ Step 8: Maintain!
Now you know all the ingredients to renovate your lawn, you have all the knowledge you need to maintain it.
For most lawns, I recommend fertilising once or twice a year (in early spring and again in autumn if needed), mowing and watering as and when needed, and weeding every 6-8 weeks or as needed.
You can fertilise more often – as much as once every two months or so – if your lawn needs more attention or is growing in challenging conditions (shade, waterlogged land, etc.).
I also recommend aerating your lawn every 2-3 years, or more often if the lawn is heavily used and gets compacted faster.
🏁 Final Word
I hope this article gave you some helpful guidance on lawn renovation from scratch.
Bringing a lawn up to good health is luckily easy for most of us. Unless your grass is diseased or trying to survive in a challenging landscape, just a few simple practices should make the world of a difference.
Let me know if you have any questions after reading this article; I’m happy to help.
